
An animated explainer used to take a scriptwriter, an illustrator, an animator and a voice artist. You can now describe one in plain English and have an AI agent write it, voice it, score it and render it, with every frame drawn in code.
The tool behind this is a free skill for Claude Code called Lemo-Opuscar, made by LemoLab. This guide takes you from nothing installed to a finished film, including what it costs, how long it really takes and where people get stuck.
Short answer: install Claude Code, add the free Lemo-Opuscar skill with two commands, pick one of its 66 film styles and describe your idea in a sentence. Claude writes the story and narration, adds music and renders the film frame by frame in code.
- The skill is free and open source (MIT). Claude Code needs a paid Claude plan.
- A film takes the agent about 30 to 60 minutes and a fair amount of tokens.
- You need Node 20 or newer, ffmpeg 7 or newer and Python 3.11 or newer.
- The films you make are yours, and you do not have to credit anyone.
What Lemo-Opuscar is and how it differs from AI video tools
Most AI video tools generate footage from a video model. Lemo-Opuscar works another way. Each style is a written style guide plus a demo film, and the agent writes code that draws the picture. The project's README is plain about it: no video generation and no stock footage. The picture comes from canvas and WebGL pages rendered frame by frame, the voice is text-to-speech narration, and the music is original scores built from free sample libraries.
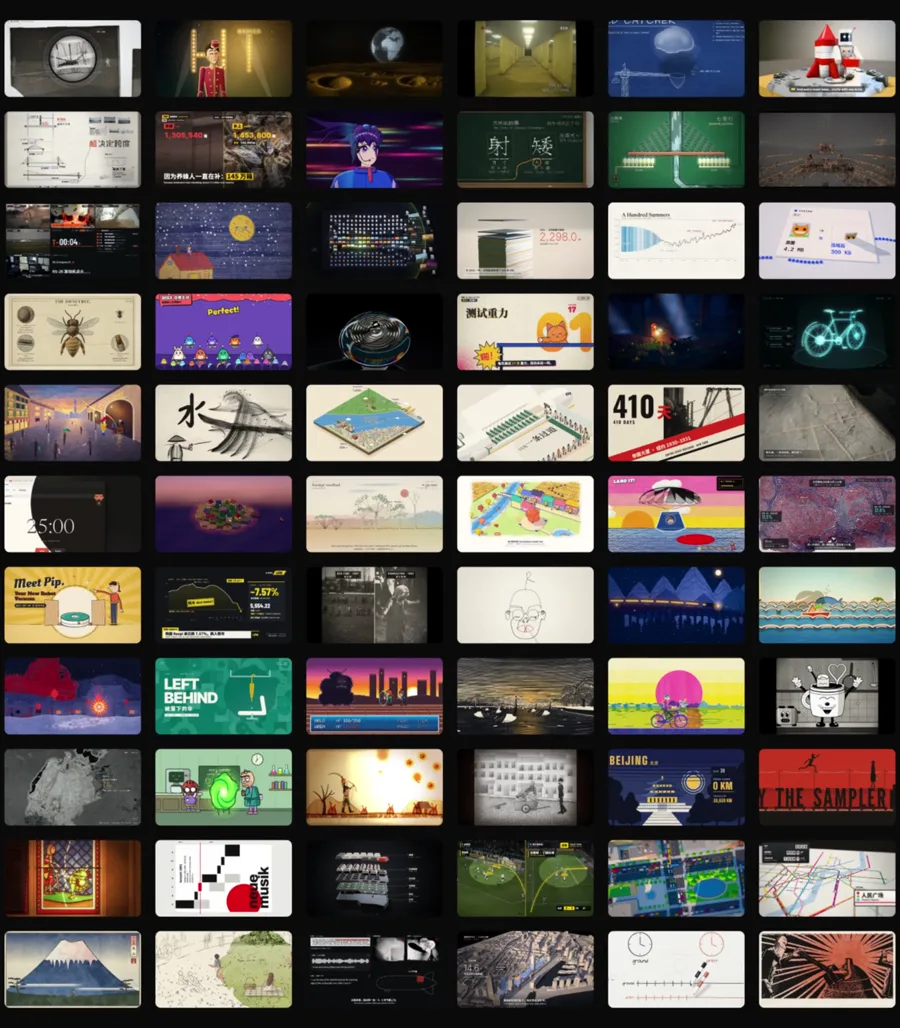
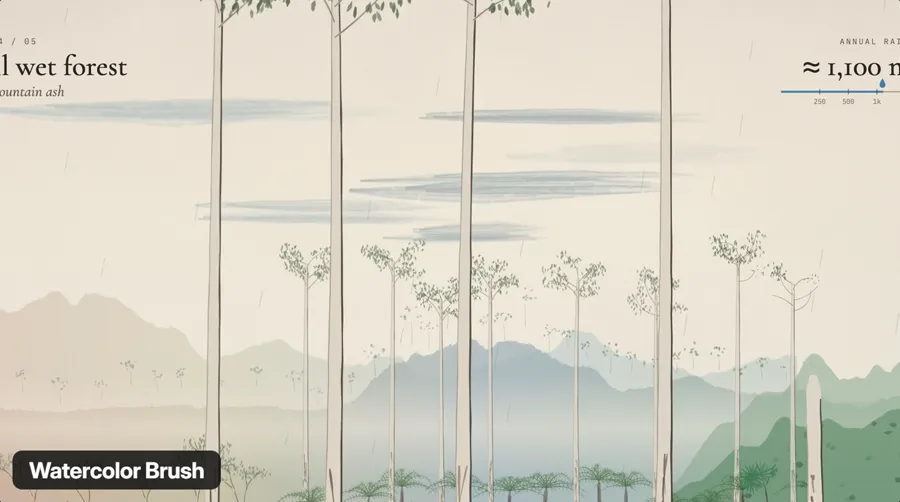
The library holds 66 styles in 11 categories, from Whiteboard Explainer and Watercolor Brush to Caption News and Brick Toy. The project had 13.8k stars on GitHub when we checked on 9 November 2026. Before you commit, watch a few of the demo films in the gallery, since each one shows what its style looks like when it is finished.
Before you start
- Claude Code on a paid Claude plan. Claude Pro is $20 a month ($17 billed yearly) and includes Claude Code. Max is $100 a month and Ultra is $200 a month if you plan to make a lot of films.
- Claude Opus 5.5 selected. The styles are tuned for it, and the README warns that other models may not reproduce them well.
- Three free tools. Node 20 or newer, ffmpeg 7 or newer, and Python 3.11 or newer (the uv tool also works in place of Python).
- Time. Plan on about 30 minutes of your own time for setup and the brief, then 30 to 60 minutes while the agent works.
- A clear idea. You need one sentence on who the film is for and what they should do after watching it.
Stage 1: Write the brief (15 minutes)
A film with a muddled message stays muddled however good the animation is, and you will be paying for tokens to find that out. Do this part on paper first.
- Write the message in one sentence. For example: "Busy clinic owners can stop losing patients to missed calls by letting our assistant answer after hours."
- Pick a length. The project's own examples run 40 and 45 seconds, and a first film should stay close to that.
- List four beats. Write one or two sentences each for the problem, what you do, how it works and what to do next. If a beat needs more than two sentences, you probably have two films, so cut it down or save half for another one.
- Gather what you already have. That means your logo, brand colours, any recording of your own voice, and any music you own. The skill asks about these at the start.
Stage 2: Install the tools (10 to 20 minutes)
- Install Claude Code and sign in. Follow Anthropic's quickstart.
- Check the three tools. Open a terminal and run these one at a time. On Windows, use
python --versionfor the last one.
You want 20 or higher, 7 or higher, and 3.11 or higher.node --version ffmpeg -version python3 --version - Fix anything missing. Start Claude Code by typing
claude, then say "Install Node 20, ffmpeg 7 and Python 3.11 for me." On Ubuntu 24.04, the ffmpeg 6.1 from the system is too old, so ask for a static build. - Install the skill. Paste these two lines into your terminal, one by one:
The first time you use it, it downloads its guides, tools and style prompts to a folder calledclaude plugin marketplace add lemomo-ai/lemo-opuscar claude plugin install lemo-opuscar@lemolablemo-opuscarin your home folder.
If those commands are not recognised, update Claude Code and try again. If they still fail, the project also offers a plain download, and films then land in films/<name>/ inside that folder:
git clone https://github.com/lemomo-ai/lemo-opuscar.git
cd lemo-opuscar
claudeStage 3: Pick a style (10 minutes)
Open the gallery and watch the demo films. The pairings below are our suggestions for common business jobs.
| What you are explaining | Styles to try |
|---|---|
| How a process works | Whiteboard Explainer, Chalkboard |
| Numbers or results | Data Storytelling, Isometric Infographic |
| Software or an app | Living Screencast, Dark Tech Keynote |
| A warm, personal brand | Watercolor Brush, Crayon Picture Book |
| A clean corporate brand | Swiss Motion Graphics, Pictogram Motion |
| Something playful | Mid-century Cartoon, Brick Toy, Paper Pop-up Book |
| News or documentary | Caption News, Broadcast News Package, Visual Investigation |
Stage 4: Describe the film
Open Claude Code in the folder where you want the film, and confirm you are on Opus 5.5 by typing /model. Then fill in the brackets and paste this:
Make a [length, for example 45-second] film in the [style name from the gallery] style about [your idea]. [The voice you want, for example warm female] narrator.The example in the project's README is "Make a 45-second film in the watercolor style about the coffee farm my family runs. Warm female narrator." That is enough to get a film. For a business film, use the longer version below, since it keeps the agent from inventing claims about your company:
Make a [45-second] film in the [Whiteboard Explainer] style for [my business name].
Who it is for: [your customer].
The one message: [your one sentence].
The story, in order:
1. The problem: [one or two sentences].
2. What we do: [one or two sentences].
3. How it works: [one or two sentences].
4. What to do next: [your call to action].
Use only these facts. Do not invent numbers, names or customer stories.
[A warm female] narrator. Brand colours: [hex codes]. The logo is at [file path].
Show me a storyboard first.Prefer a one-click copy? The same prompt is on our free prompt page.
Stage 5: Answer its questions and let it work
- Answer once, up front. It asks about anything it cannot decide on your topic, whether you have your own voice, music or other material, and whether you want to see a storyboard first.
- Say yes to the storyboard on your first film. Fixing the story at this point costs far less than fixing it after the render.
- Let it run. Expect about 30 to 60 minutes. Keep the computer awake and Claude Code open.
- Find your film. The project goes in the folder you started from. The default output is 1920 by 1080 at 24 frames per second.
If it stops partway because you reached your usage limit, Claude Code tells you when the limit resets. Come back after that and tell it to continue.
Stage 6: Check it and ask for fixes
- Watch it with sound, on the kind of screen your customers use.
- Check every fact out loud. Names, prices and promises in the narration are your responsibility, even when an agent wrote them.
- Ask for one change at a time and name the scene. "In the third scene, slow the narrator down and hold the logo for two more seconds" gets a better result than "make it better."
- Stop after two or three rounds. Each round uses more of your plan, so save big changes for a new film.
Make a style that is your own
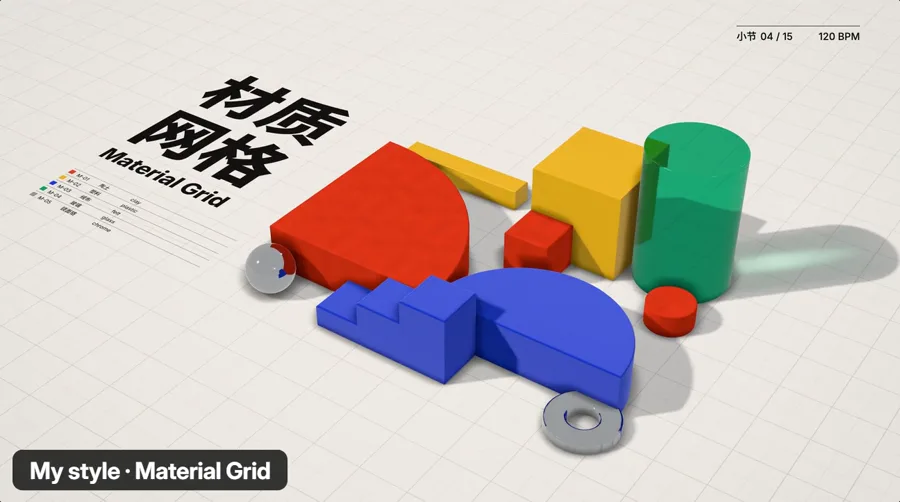
You can change a library style or start from a blank page. To start blank, describe the look in your own words, or share a picture or a film you like, and add your brand colours and logo. Claude picks the closest library style as a base. The process has five steps:
- You plan the look together, one question at a time.
- You review a written summary.
- You see one style frame. For a library style, it appears next to the original.
- You get a 15 to 30 second demo film.
- You decide whether to keep it.
When you change a library style, the skill sorts your requests into three groups: safe to change, changes the style's character, and cannot change. You can make at most five changes per round. Styles you keep are saved in ~/lemo-my-styles/<name>/, and library updates or reinstalls leave them alone.
Going further
- Vertical films. Other sizes are available on request, so ask for 1080 by 1920 if the film is for Instagram or TikTok.
- Evidence-style films. The Evidence Films category includes Satellite Briefing and LiDAR Survey. The README's second example is a 40-second LiDAR Survey film about a local quarry, built from public laser-scan data.
- Your own voice. Tell it you have a recording when it asks at the start.
- Other agents. The README says you can copy the skill's folder into another agent's skills folder, but the styles are tuned for Opus 5.5, so results may differ.
What it costs and what to watch for
- The skill costs nothing. Its code and docs are MIT licensed.
- The film costs tokens. The project says a film takes "a fair amount of tokens," so a single film can use a noticeable share of a $20 plan. Run
/usageafter your first one to see where you stand. On the API, Opus 5.5 is $4 per million input tokens and $20 per million output tokens. - The rights are mostly simple. The films you make are yours, with no credit needed. LemoLab's own demo films and stills are CC BY 4.0, so credit them if you use one. Third-party assets keep their own licences, and six voice tracks in the project are excluded and should not be reused.
- It is not instant. Thirty to 60 minutes is fast against a production schedule and slow against a template tool.
- You will touch a terminal. Claude Code does most of the typing, but you need to be willing to open one and paste two commands.
When something goes wrong
- The install stops with an ffmpeg or Python error. Run the three version checks from Stage 2 again. An older ffmpeg is the most likely cause, and Claude Code can install a newer one if you ask it to.
- The film looks nothing like the demo. Type
/modeland confirm you are on Opus 5.5. Then check that you used the exact style name from the gallery, such as "Whiteboard Explainer". - The narration says something you never told it. Add the line "Use only these facts" to your prompt and correct the script while it is still a storyboard. Fixing a claim after the render means rendering again.
- The voice is wrong for your brand. Describe it more closely in your prompt, or tell the skill at the start that you have your own recording.
- You run out of usage halfway. Make one film at a time and run
/usagebefore you start another. Heavy use on a $20 plan can hit the limit, so a bigger plan only makes sense once you are making films every week.
When to use something else
- A template tool such as Powtoon or Vyond suits you if you want drag and drop and never want to see a terminal.
- A video generation model is the better route for realistic footage of people and places. Lemo-Opuscar draws every frame in code and does not make that kind of footage.
- A human animator is still the right call for a flagship brand film or character work that has to be exactly right.
Frequently asked questions
Can AI make an animated explainer video?
Yes. With Claude Code and the free Lemo-Opuscar skill, you pick one of 66 film styles and describe your idea in plain English. Claude writes the story, adds narration and music, and renders the film frame by frame in code.
How long does it take to make an explainer video with AI?
The project's README says a film takes the agent about 30 to 60 minutes and a fair amount of tokens. Allow about 30 minutes of your own time for setup and the brief on your first film.
Does Lemo-Opuscar use an AI video model?
No. Claude writes code that draws every frame. There is no video generation and no stock footage. The voice is text-to-speech and the music is original scores made from free sample libraries.
Is Lemo-Opuscar free?
The skill is free and open source under the MIT licence. You still need Claude Code on a paid Claude plan, and each film uses a fair amount of tokens.
Can I make vertical videos for Instagram or TikTok?
Yes. The default output is 1920 by 1080 at 24 frames per second, and the project says other sizes are available on request, so ask for 1080 by 1920 in your prompt.
Who owns the videos I make?
You do, and no credit is needed. LemoLab's own demo films and stills are CC BY 4.0, third-party assets keep their own licences, and six voice tracks in the project are excluded from reuse.